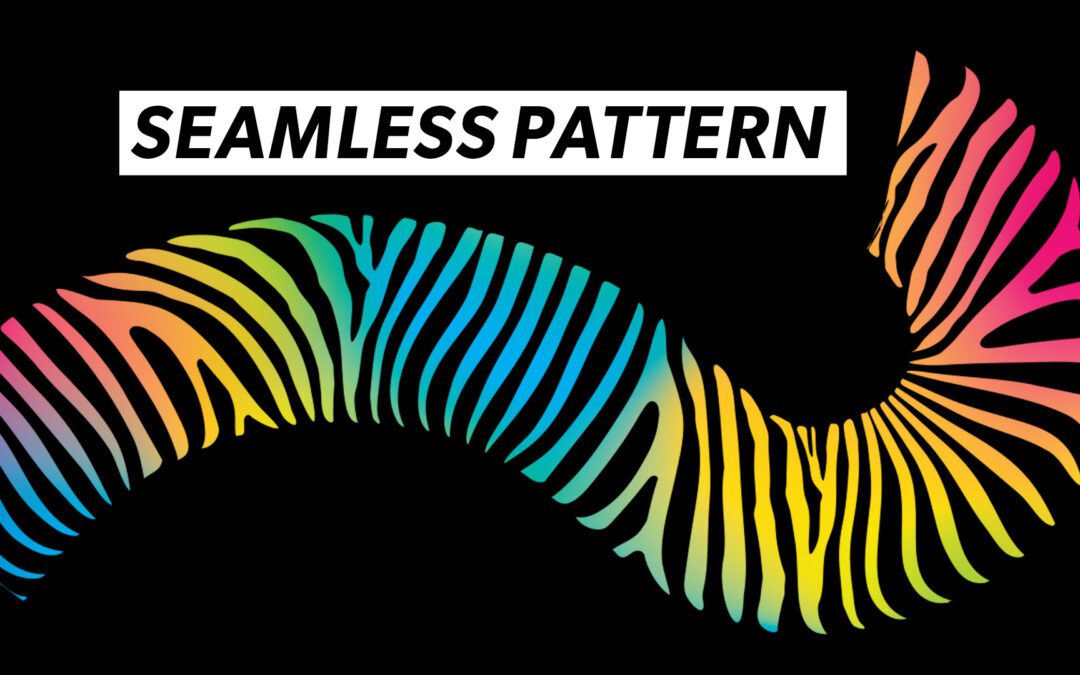
In this tutorial, I go through the steps in creating a seamless pattern brush. As a graphic designer, there is no end to the number of add-ons, brush sets, ornaments, images, filters, and other design tools out there for purchase. While some are amazing and save you a bit of time trying to create that perfect look, who has an unlimited fortune dedicated to buying tools you might only use once. Sometimes, making the brush you are looking for can take less time than searching for it on an online digital marketplace. Of course, it helps to save your work often and make duplicate layers for each step so you can return to a previous step without using ⌘ + Z over and over again.
Five Steps in Creating a Seamless Pattern Brush
1) Find source material.
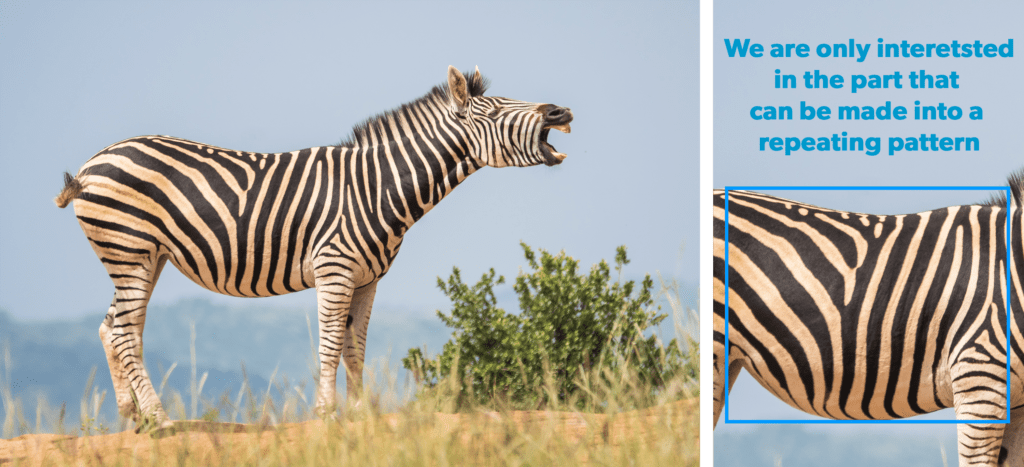
Find an image of a pattern from which to draw inspiration. Pexels is an excellent place to start as it has many photos that can be used for free. For this tutorial, I am using just a section of zebra stripes for inspiration.
2) Draw your pattern in Illustrator.
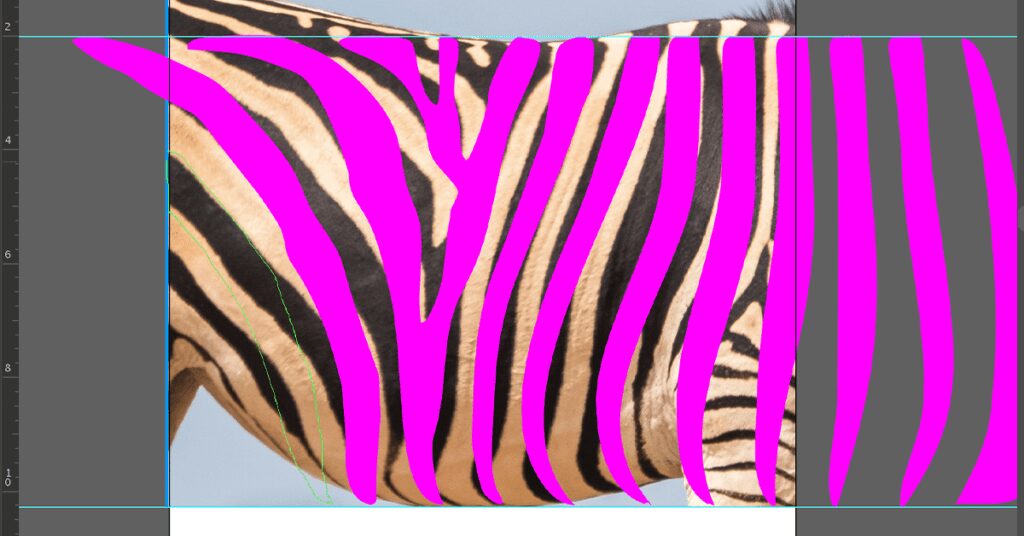
Using the image as inspiration, set up an Illustrator file at 4″ x 4″ and Place (Shift (⇧) + ⌘ + P) the file on the Artboard. (The dimensions of the image don’t really make a difference.)
First, lock the layer by clicking on the small square next to the eyeball. This layer will contain the image and make sure it doesn’t move.
Window >> Layers, then click on the [ ] in the layers panel beside the eye.
Set a maximum height to your pattern using guides by simply dragging guides from your ruler along the top of the workspace window. You can set up your ruler as follows…
View >> Rulers >> Show Rulers
In a new layer…
Window >> Layers, then click on the [+] at the bottom of the layers panel
…start drawing shapes with the Pencil Tool (N) by loosely following the stripes in the zebra pattern while keeping the height of each stripe the same. Draw the stripes from the top guide to the bottom guide on the Artboard.
Don’t worry about the details. Your stripes don’t need to look the exact same as the natural stripe patterns of the zebra image.
3) Duplicate your pattern and find the repeating point.
Once you are happy with your pattern. Duplicate it by selecting the entire pattern and placing it directly beside itself.
Hold Alt/Option (⌥) + click (and hold) + hold Shift (⇧) + drag
in that order, one after the other
Using the Pencil Tool (N), add another stripe or two between the duplicated patterns to fill in the gaps. This should make the duplicate patterns look like one continuous pattern.
Select All (⌘ + A) and Group (⌘ + G) the patterns together. You should then consolidate the group by using ⌘ + 8 (Compound Path >> Make). This Command works by taking a group of several individual pieces and consolidating it to be treated like one object.
Using your ruler on the left side of the workspace, click + drag a guide to an anchor point on a repeating stripe within the pattern. Place a second guide on the exact same anchor point on the repeating stripe’s clone.
You should now have a frame made of four guides that contain the exact pattern you will use to make your brush. Next, draw a rectangle that fills the frame using the Rectangle Tool (M) by clicking and dragging from the top left corner of the frame to the bottom right corner of the frame.
Select All (⌘ + A) and click on the Intersect icon in the Pathfinder panel (Shift (⇧) + ⌘ + fn + F9). This will create a cropped version of the pattern used to make the seamless pattern brush.
4) Create a seamless pattern brush.
Drag and drop your new pattern into the Brushes panel (fn + F5). A dialogue box will pop up with Scatter Brush, Art Brush and Pattern Brush as options.
Scatter Brush – is exactly as it sounds. A brush that scatters a pattern along a predetermined path. Cool for creating sparkles, specks, and dust in randomized patterns.
Art Brush – takes an object and stretches it along a path. It is great for recreating a single brush stroke with no repeating elements.
Pattern Brush – takes an object or pattern and repeats it along a path. It is great for funky borders and repeated elements in a predictable repeated pattern.
You’ll want to select Pattern Brush and click OK.
The following dialogue box will ask you to name the pattern. Name it something that will be easily recognizable, “zebra_v1,” for example.
After you’ve named your pattern, there are only a couple of settings that need to be changed for the seamless brush to work. The first setting will affect how the brush will handle sharp corners on the path outside of a shape.
Outer Corner Tile >> Auto-Centered
The Auto-Centered setting works best in adapting the brush to corners. The second setting to change is the Inner Corner Tile which will dictate how the brush will handle the corner on the path inside a shape.
Inner Corner Tile >> Auto-Centered
Click OK.
5) Test your brush.
Simply draw a line with the Pencil Tool (N), and while that line is selected, find your new “zebra_v1” brush in your Brushes Panel (fn + F5). Click on it to apply the new brush to your pencilled path.
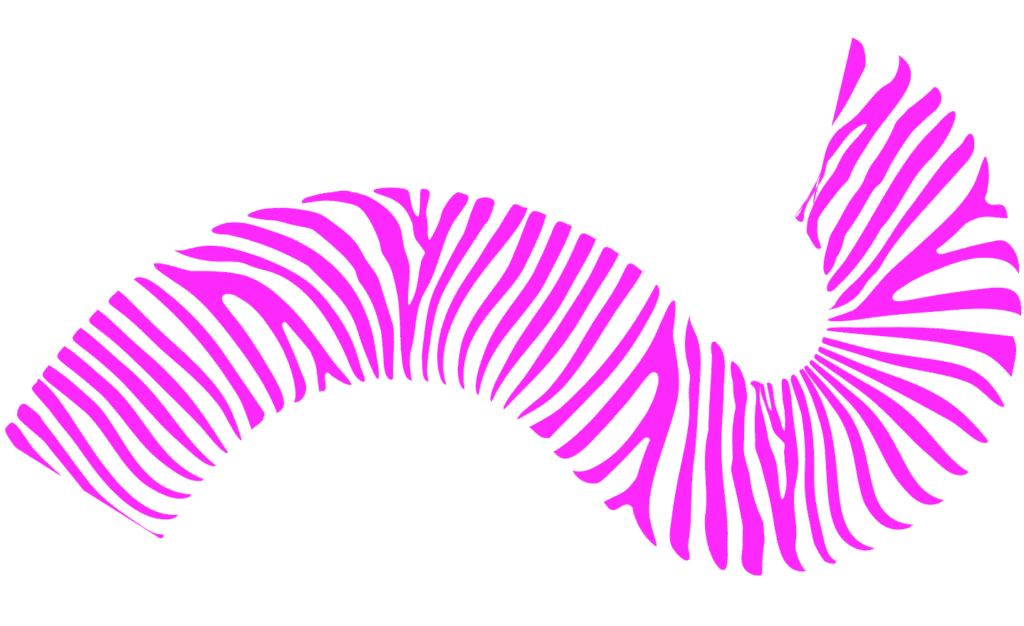
Voila!! A seamless pattern brush!! You can now manipulate it using the Stroke Panel, expand its appearance to use it as an object, and apply it to shapes or any complex path. This technique can now be used for animal print, florals, damask, and just about any other simple pattern.

If your brush didn’t quite work, there are a few things that can be done to troubleshoot the problem. I’ve found the biggest issue can be in creating the perfect frame for the repeating pattern segment. So go back a few steps and try again. Feel free to email me with your seamless pattern successes and failures.

