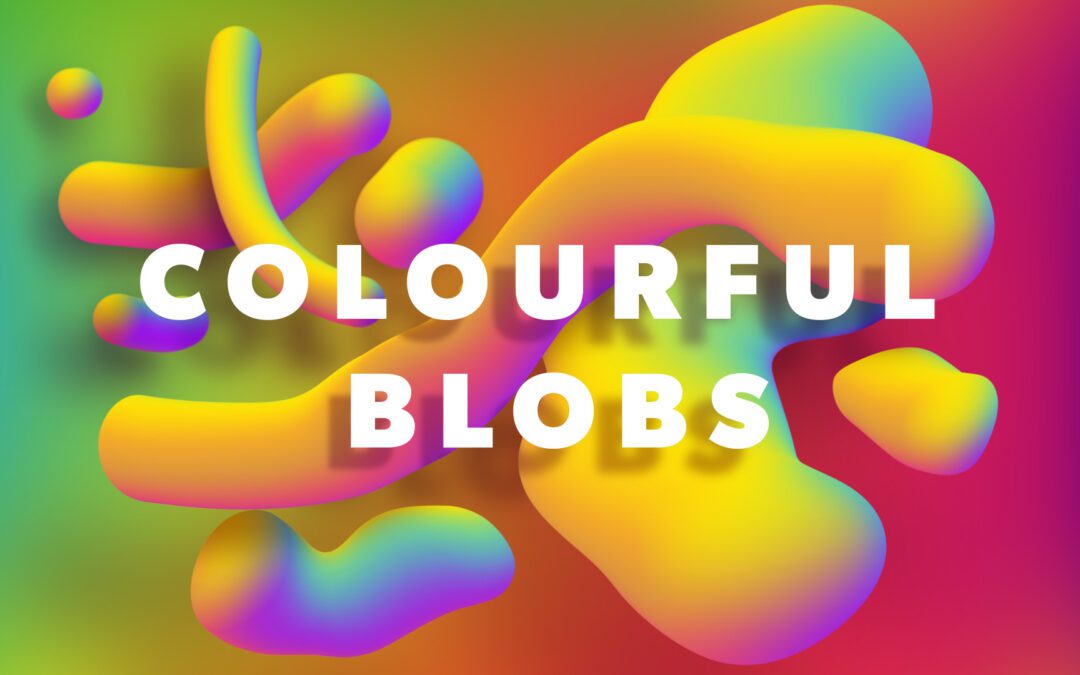
INTRODUCTION: Why even create abstract colour blobs?
When I started my career in graphic design there were a lot of Photoshop tools that I thought I’d never touch. If it didn’t clone, stitch, fill, recolour, warp, stretch, squish, enlarge, shrink, mask, sharpen, blur, merge, or patch, I didn’t really see the purpose. However, I knew there were countless ways to design a new aesthetic. Abstract colour blobs were just one more design element to add to a designer’s repertoire. In this post, I explore the easiest way to create abstract colour blobs and take a look at a brush tool that is often overlooked–the Mixer Brush tool.
Getting to know the Mixer Brush tool
For anyone thinking the standard Brush tool is the only way of painting digitally…meet the Mixer Brush tool. Capable of sampling more than one colour at a time, this tool is the answer to “What would a professional painting simulation program look like?”. It also simulates real paint mixing and wetness. Needless to say, there is a multitude of settings to explore here. I would encourage anyone who wants to create digital paintings to do a deep dive into the various settings when creating their next masterpiece. In fact, you can discover more about painting with the Mixer Brush in Adobe Photoshop here. However, for this tutorial, we are just concerned about using the Mixer Brush tool with the following settings.
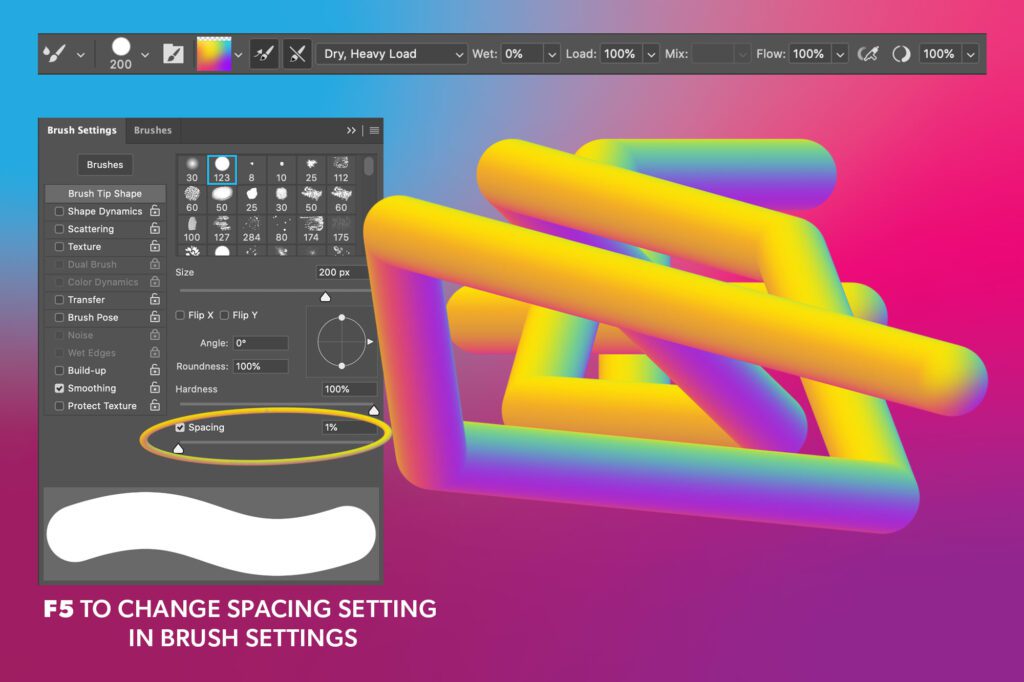
These settings will simulate a steady flow of thick paint. When a gradient or mixture of colours is sampled with this brush setting it will create a unique colour combination. This colour combination will then brush in the same orientation but change depending on the direction of your stroke. Try going in any variety of directions for different coloured strokes using the same colour sample.
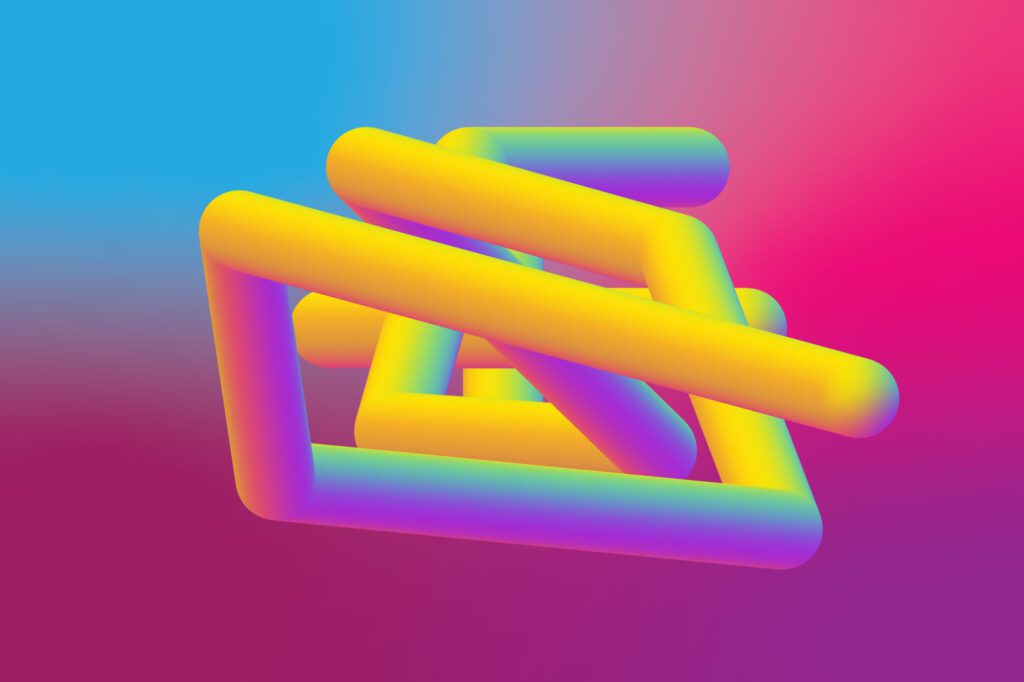
TUTORIAL: Now let’s create those blobs!
STEP ONE: Load your brush.
Find or create a nice gradient or mix of colours and sample it using the Mixer Brush tool (using the settings above).

STEP TWO: Paint
Using the Mixer Brush “paint” a few curvy lines on different layers.
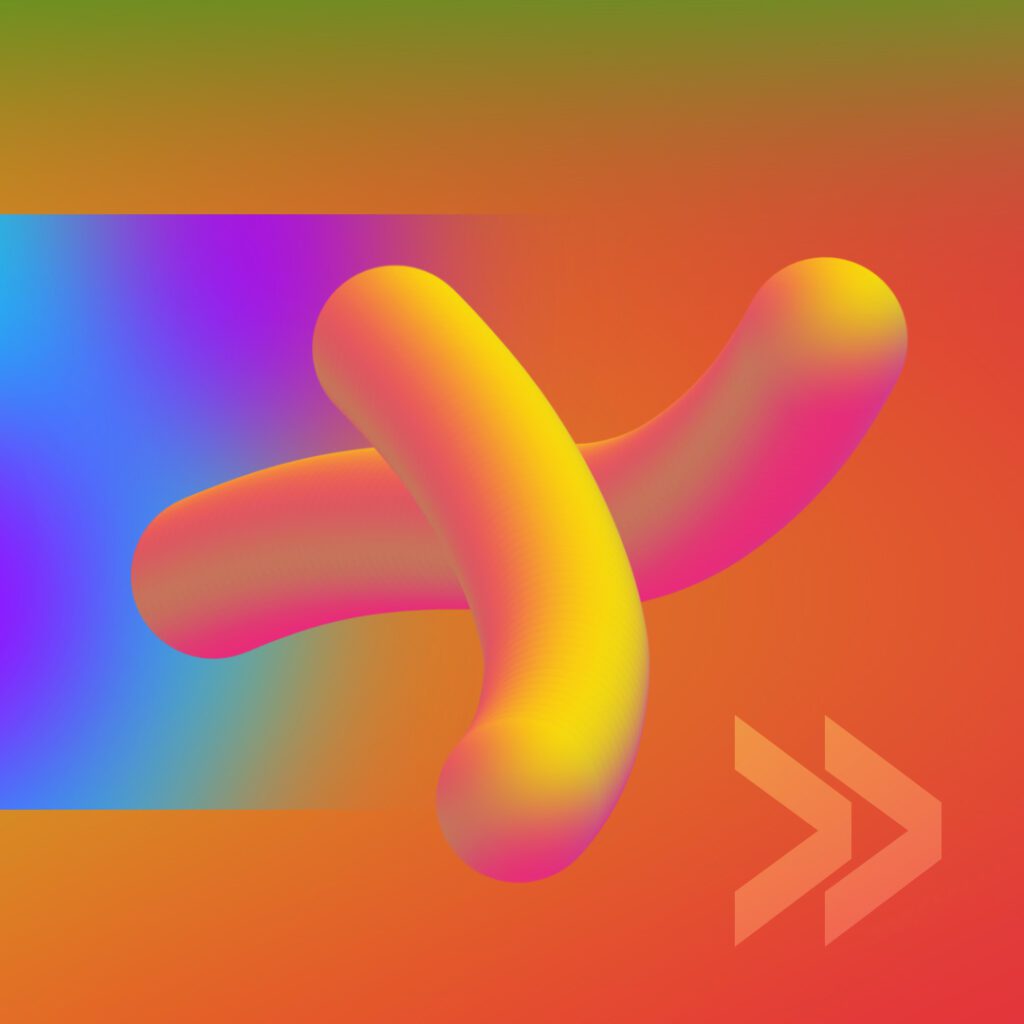
STEP THREE: Add depth
Drop shadows can add depth to 2D shapes.
You can create drop shadows in one of two different ways. The first way is by using the drop shadow function in the Blending Options window. Second, you can create the abstract colour blobs shadows using the outline of their shapes. Below shows the latter.
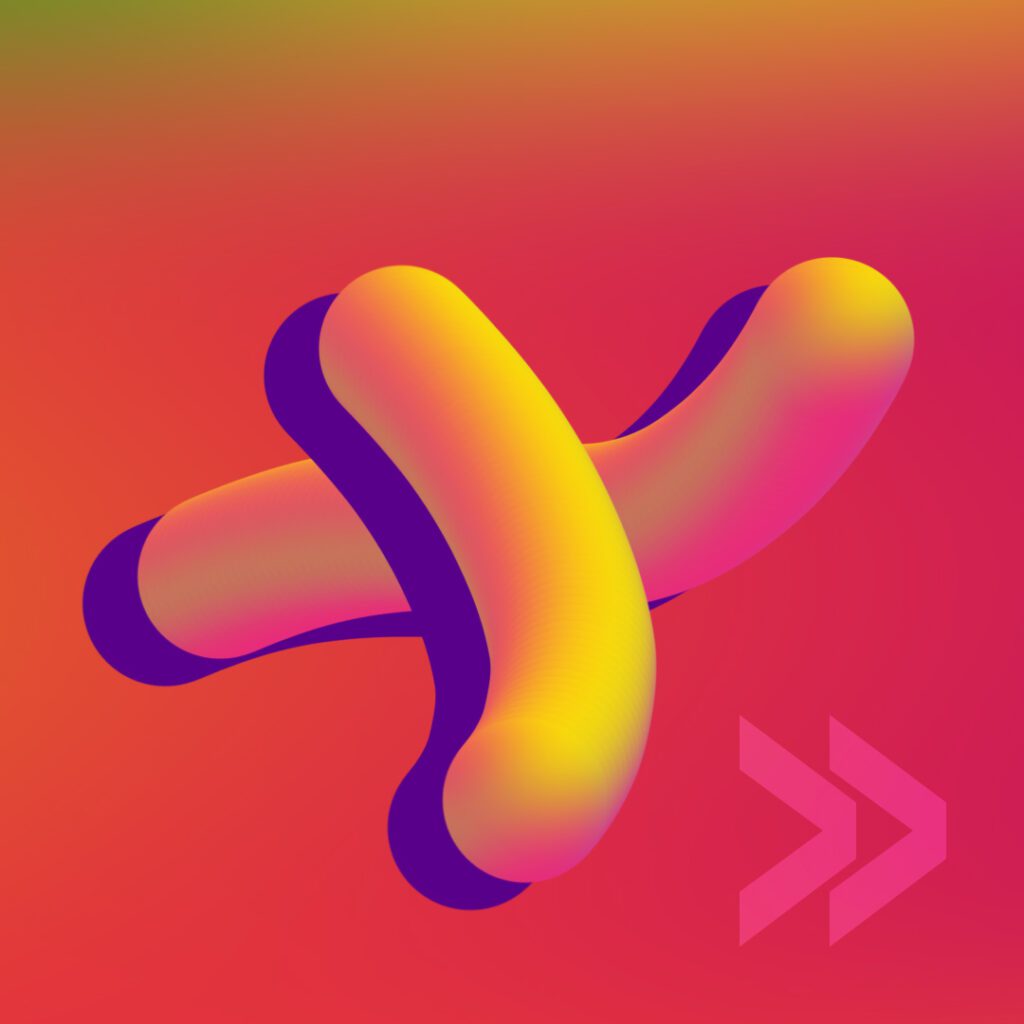
To create drop shadow blocks, Command + click on the image in the layer you wish to make a drop shadow for. This makes a pixel selection. Create a new layer and fill in the selection with a dark colour. Deselect the layer and offset that layer from the original multi-coloured line layer. Apply a Gaussian Blur to the drop shadow block of dark colour and change the Opacity of the layer to 50% or lower and the transparency to Multiply.
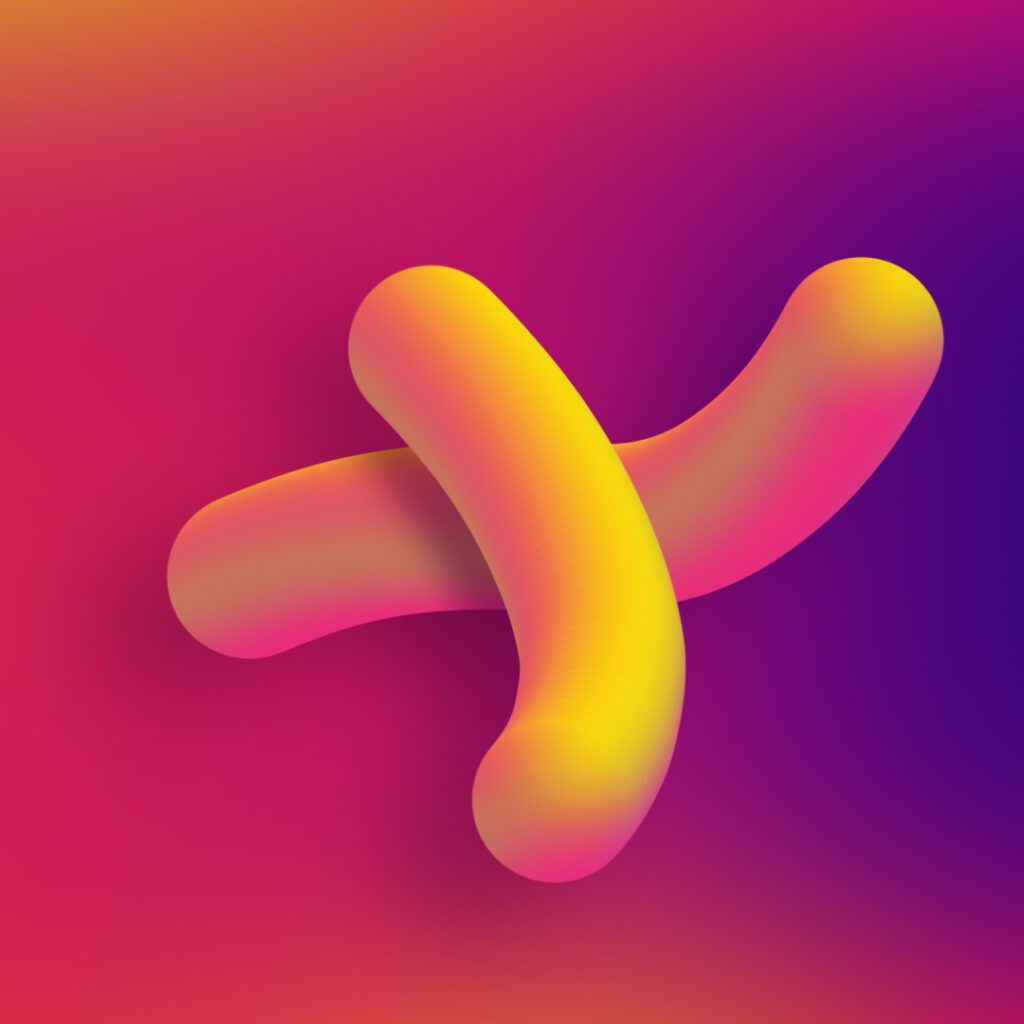
BONUS STEPS
Use the Liquify filter to make the brush strokes more blob-like before adding drop shadows. Make the brush tip large when working in the filter panel, and click and drag very slowly and slightly to get subtle deviations and smooth blobs.
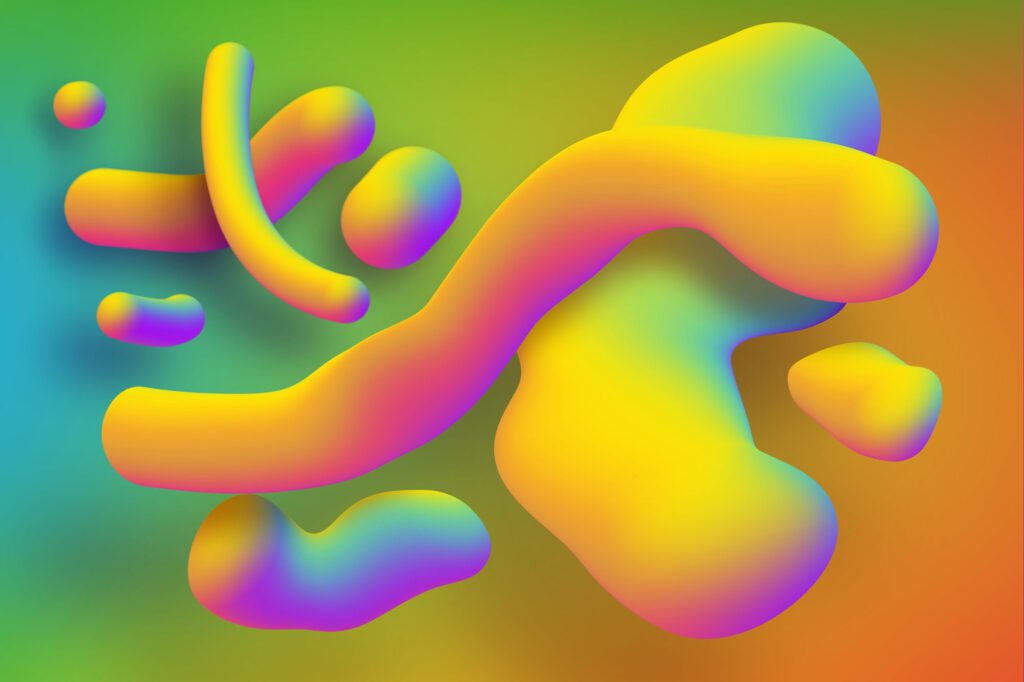
Layering your drop shadows to make the depth more realistic. When objects are layered on top of each other in 3D space their shadows are cast differently according to their distance from each other. To create this illusion easily and quickly, we need to apply layers of shadows and remove the objects from each drop shadow layer according to their position in space. The closer the top object is to the object below the smaller the offset from the object casting the shadow.
If you liked this tutorial, check out my tutorial on “Creating Seamless Pattern Brushes in Illustrator for Just About Anything” here.

